


You land, switch off Airplane Mode, and expect your phone to come online. Instead, maps keep loading, messages stay unsent, and the ride app cannot find your location. It is especially confusing when the travel eSIM already appears in your phone settings.
An installed Travel eSIM can still fail to provide data immediately after arrival. Installation only puts the profile on the phone. The device still has to turn on the correct line, send mobile data through it, and connect to a network supported by the plan.
That is why the first response should not be deleting the eSIM or buying another plan. A few targeted checks can usually tell you whether the issue is the phone setup, the network connection, or the plan itself.
Check Which Line Is Actually Carrying Your Data
Contents
- Check Which Line Is Actually Carrying Your Data
- Keep the Installed Profile While You Troubleshoot
- Use Airport Wi-Fi to Check the Plan, Not to Hide the Problem
- Know When the Problem Is the Plan Rather Than the Phone
- Why Easy Access to Your eSIM Details Matters After Landing
- Do Not Turn One Connection Problem Into Three
Dual-SIM phones can keep a home SIM and a travel eSIM active at the same time. That is convenient, but it also creates one of the easiest arrival-day mistakes: the travel eSIM is switched on while the phone is still trying to use the home line for mobile data.
Open the cellular or SIM settings and confirm that the travel line is enabled and selected as the mobile-data line. If the provider requires data roaming for the travel eSIM, make sure it is enabled on that line rather than assuming the home SIM should handle roaming.
Signal bars do not prove that the setup is correct. They only show that the phone can see a network. A device may display 4G or 5G while the wrong SIM remains selected for data.
A useful first check is:
- travel eSIM switched on;
- travel eSIM selected for mobile data;
- data roaming enabled on the travel line when required;
- home SIM not selected for cellular data unless you intentionally want home-carrier roaming.
After checking those settings, temporarily turn off Wi-Fi and open an ordinary webpage or map. If it loads, you know the travel line is actually carrying data rather than airport Wi-Fi hiding the problem.
If nothing happens immediately, give the phone a short time to attach to the local network. Turning the travel line off and back on, briefly toggling Airplane Mode, or restarting the phone can also trigger a fresh network registration.
Keep the Installed Profile While You Troubleshoot
Deleting the eSIM should not be the first fix.
A QR code is often intended for one installation, so removing a profile that is already on the phone can create a second problem. You may go from “the line is installed but not connecting” to “the line is gone and the original QR code may not reinstall it.”
If the eSIM appears in the phone’s SIM list, preserve it while you test reversible settings. Check the data line, roaming setting, and network connection first.
Only remove or reinstall a profile when the provider’s instructions or support team specifically recommend doing so.
This is particularly important when troubleshooting in an airport. Changing several things at once makes it difficult to know what caused the original problem and can leave you with fewer options than you started with.
Use Airport Wi-Fi to Check the Plan, Not to Hide the Problem
Airport Wi-Fi is useful while troubleshooting because it gives you access to the order information even when cellular data is unavailable.
Open the confirmation email or order page and confirm that the plan actually covers the country you have entered. If it is a regional plan, check the included destinations rather than assuming every nearby country is covered.
Also check the validity period and, where available, the remaining data allowance. An eSIM may be installed correctly but no longer provide service because the plan has expired or its data has been exhausted.
If the provider lists supported local networks, compare those with the network the phone has selected. Automatic network selection normally works, but manually choosing a supported network can help when the phone does not attach on its own.
After making a change, turn Wi-Fi off briefly and test cellular data again. Otherwise, a successful webpage load only proves that the airport Wi-Fi works.
Know When the Problem Is the Plan Rather Than the Phone
Not every arrival-day failure comes from incorrect settings.
The traveler may have purchased a plan for the wrong country. A regional eSIM may not include the destination just entered. The validity period may have ended, or the data allowance may already be exhausted after earlier use on the trip.
Location can also affect the first connection. Airports contain large enclosed areas where reception can vary significantly. Moving to another part of the terminal or waiting until you are outside the building may produce a different result without changing the plan at all.
This distinction matters because buying another eSIM will not fix a phone that is still routing data through the wrong line, while repeatedly changing phone settings will not revive a plan that has expired.
Before taking another action, identify which side of the problem you are dealing with: configuration or service availability.
Why Easy Access to Your eSIM Details Matters After Landing
When mobile data does not come online after landing, the most useful thing is having the installation details and troubleshooting information close at hand. Travelers should not have to search through an app, remember another password, or guess which settings belong to the plan they purchased.
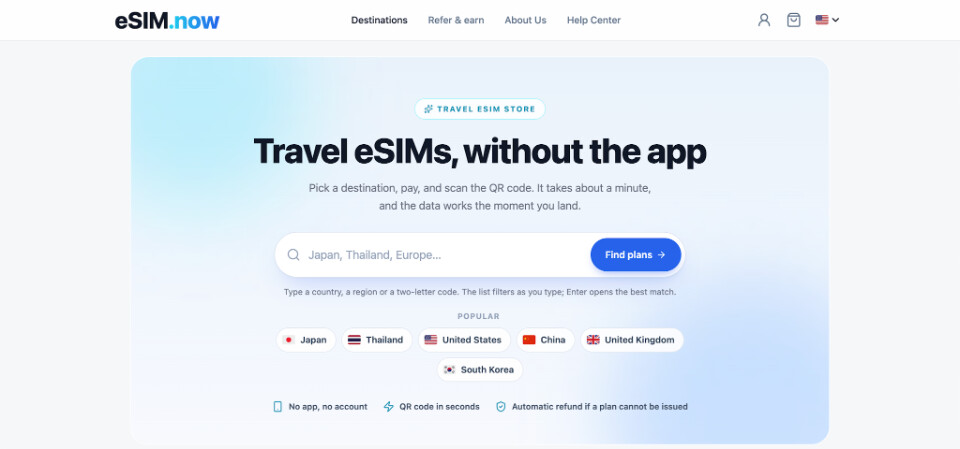
With esim now, the eSIM order page is sent to the buyer by email as a permanent link. That page gives travelers continued access to their eSIM information and QR code, which can be useful if they need to review the setup while connected to airport or hotel Wi-Fi. There is no mandatory app to download simply to retrieve the order, and users can also access their orders later with the email address used at checkout.
The site also provides a dedicated installation guide covering both iPhone and Android, including what to check when an installed eSIM does not connect after arrival. Instead of leaving users to work through generic phone advice, the guidance explains the relevant travel-line settings, including selecting the eSIM for mobile data and enabling data roaming on that line.
If those checks still do not restore the connection, travelers can contact eSIM.now support with the order number and a screenshot of the phone’s cellular settings. This gives the support team information tied to the actual order and profile rather than relying only on a general description of the problem.
For a traveler who needs maps, transport, or booking information shortly after landing, that combination of accessible order details, device-specific instructions, and profile-based support can make an arrival-day connection problem much easier to resolve.
Do Not Turn One Connection Problem Into Three
Arrival-day connectivity problems feel urgent because the phone may already be needed for directions, tickets, ride-hailing, or messages from the hotel. That urgency is exactly why it helps to troubleshoot in a fixed order rather than changing everything at once.
Start with the line carrying mobile data. Confirm the travel eSIM is enabled and using the required roaming setting. Keep the existing profile installed. Use available Wi-Fi to check the destination, validity, and network information attached to the order.
If the basic setup is correct and the line still will not connect, move to the provider’s troubleshooting and support process with the actual order details available.
The goal is not to understand every technical detail behind an eSIM. It is to isolate one problem at a time until the phone is online again, without accidentally creating a new problem while trying to fix the first one.