


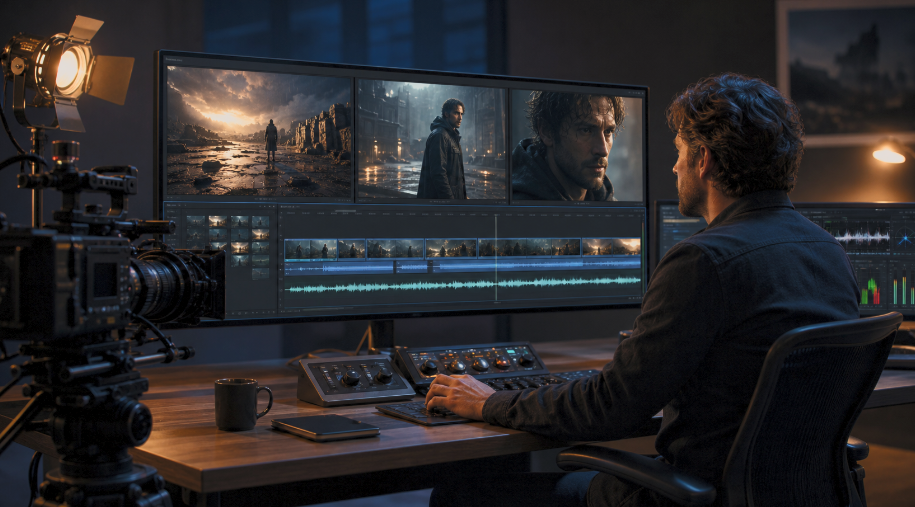
AI video tools have made moving-image production accessible to creators who do not have a studio, a film crew, actors, or expensive camera equipment. Yet access to generation does not automatically produce cinematic work. Many AI clips are visually sharp but still feel like animated pictures: the camera has no clear intention, the lighting lacks direction, the subject competes with the background, and one attractive shot does not connect naturally to the next.
A cinematic AI video is not created by adding black bars, slow motion, or the word “cinematic” to every prompt. It comes from deliberate choices about composition, shot size, lighting, camera movement, visual depth, rhythm, and sound. The goal is to guide the viewer’s attention and create a coherent mood rather than fill every second with movement.
Whether the project is a product film, a technology trailer, a branded story, or a short science-fiction scene, the following production principles can help turn generated footage into a more purposeful visual experience.
Start with a Clear Creative Purpose
Contents
- Start with a Clear Creative Purpose
- Design the Shots Before Generating Them
- Use Specific Camera Language
- Use Light to Shape the Mood
- Control Motion Instead of Maximizing It
- Create Depth with Foreground, Midground, and Background
- Plan Transitions as Part of the Visual Story
- Case 1: A Luxury Fragrance Film
- Case 2: An AI Software Concept Trailer
- Case 3: A Short Science-Fiction Story
- Finish the Film in the Edit
- Pre-Publishing Checklist
- Conclusion
Before writing a prompt, define the job of the video in one sentence. A luxury fragrance film may need to communicate material quality and exclusivity. A software trailer may need to feel precise, intelligent, and forward-looking. A narrative short may need to create curiosity before revealing a key visual.
This purpose determines the pace, color palette, lighting, location, and camera language. Without it, even beautiful clips can become a collection of unrelated images.
Build a compact visual direction before generation. Define the main subject, environment, dominant colors, source and direction of light, emotional tone, aspect ratio, and the details that must remain recognizable. For example, a fragrance concept could use a dark studio, black stone, warm golden side light, restrained smoke, and slow camera movement. That is far more actionable than simply asking for a “premium cinematic perfume ad.”
Design the Shots Before Generating Them
Films communicate by moving between different shot sizes and points of view. A 15- to 20-second AI video can be planned as an establishing shot, a hero shot, a close detail, a controlled action shot, and a closing frame with space for a title or logo.
Once the shot structure and reference material are ready, creators can use the Seedance 2.5 Workspace to produce individual clips with specific subject actions, camera directions, lighting choices, and scene changes. Each clip should perform one clear job instead of asking one generation to introduce the scene, transform the subject, move the camera, change the weather, and finish with a logo all at once.
This modular approach also makes creative decisions easier. If the close-up works but the opening does not, only the opening needs to be replaced. Different openings and endings can later be combined with the same central shots for campaign variations.
Use Specific Camera Language
“Cinematic camera movement” is too vague to control a shot. Describe what the camera does, how quickly it moves, and what the viewer should notice.
- Slow push-in: the camera gradually moves closer to increase attention or intimacy.
- Pull-back: the camera moves away to reveal context or a larger environment.
- Pan or tilt: the camera moves horizontally or vertically to introduce information.
- Orbit: the camera travels around a product or character to reveal form and depth.
- Tracking shot: the camera follows a moving subject through the scene.
- Low-angle shot: the subject is viewed from below to create scale or authority.
- High-angle shot: the camera looks downward to reveal layout or vulnerability.
- Rack focus: attention shifts from a foreground element to the subject, or the reverse.
A useful prompt structure is: subject, environment, primary action, camera movement, lighting, and visual constraints. For example: “An unbranded black glass perfume bottle rests on a dark stone pedestal. Subtle smoke moves in the background. The camera makes a slow low-angle push-in while warm golden side light travels across the glass. Preserve the bottle’s shape, color, and cap design.”
The description establishes a clear hierarchy. The bottle is the subject, the push-in is the camera action, smoke is the environmental motion, and the final sentence protects important visual details.
Use Light to Shape the Mood
Lighting does more than make a subject visible. It tells the viewer how a scene should feel. Soft natural light suits lifestyle, skincare, travel, and human-centered stories. Low-key lighting with deeper shadows can support luxury, mystery, and dramatic technology concepts. Backlight can separate a character from the environment, while a controlled rim light can make a product’s shape easier to read.
Colored light can be useful for music, gaming, science-fiction, and technology visuals, but too many colors often weaken the composition. A restrained palette of two or three dominant tones usually creates a more intentional image.
Light direction should also remain logical between connected shots. If the hero shot is illuminated strongly from the left, a close-up with an unexplained hard light from the right may feel like a different location. Matching direction, contrast, and color temperature helps the sequence feel designed as one film.
Control Motion Instead of Maximizing It
Cinematic does not mean everything must move. A controlled shot may use only one or two sources of motion: a slow camera push, a small turn of the subject, fabric moving in the wind, light traveling across a surface, or dust drifting in the background.
When the character, camera, environment, and lighting all change aggressively at the same time, the viewer does not know where to look. It also becomes harder to preserve important shapes. In a product shot, keeping the bottle still while the camera approaches and the side light changes can be more effective than rotating the product, orbiting the camera, opening the background, and adding an explosion of particles.
Create Depth with Foreground, Midground, and Background
Flat AI scenes often place the subject directly against a single background. A stronger cinematic composition uses three layers. The foreground might contain an out-of-focus object, shadow, reflection, or particle. The midground holds the primary subject. The background provides architecture, practical lighting, landscape, or supporting detail.
As the camera moves, these layers travel at different apparent speeds, creating natural parallax and a stronger sense of space. A coffee product shot, for example, could use a softly blurred plant in the foreground, the cup and machine in the midground, and a window with morning light in the background.
Plan Transitions as Part of the Visual Story
Several beautiful shots do not automatically become a coherent sequence. Transitions should connect movement, shape, light, or sound. A camera move to the right can continue into the next shot. A bright reflection can fill the frame and reveal a new scene. A circular product detail can cut to a similarly shaped environment. A sound can begin before the image changes and lead the viewer forward.
Transitions do not need to be complicated. A clean cut placed at the right moment is often more professional than an obvious effect that draws attention away from the subject.
Case 1: A Luxury Fragrance Film
A fragrance brand has one clean product image and wants a 15-second launch teaser. The visual direction uses black, charcoal, warm gold, dark stone, and restrained atmospheric smoke.
The sequence is planned as four shots:
- A dark establishing frame reveals only the outline of the bottle.
- A low-angle push-in introduces the bottle as the hero subject.
- A close detail shows warm light moving across the glass and cap.
- A wider closing frame leaves negative space for the product name and launch date.
The product remains stable while camera distance, light, and background atmosphere provide motion. The real logo, name, and date are added during editing so the commercial information stays accurate.
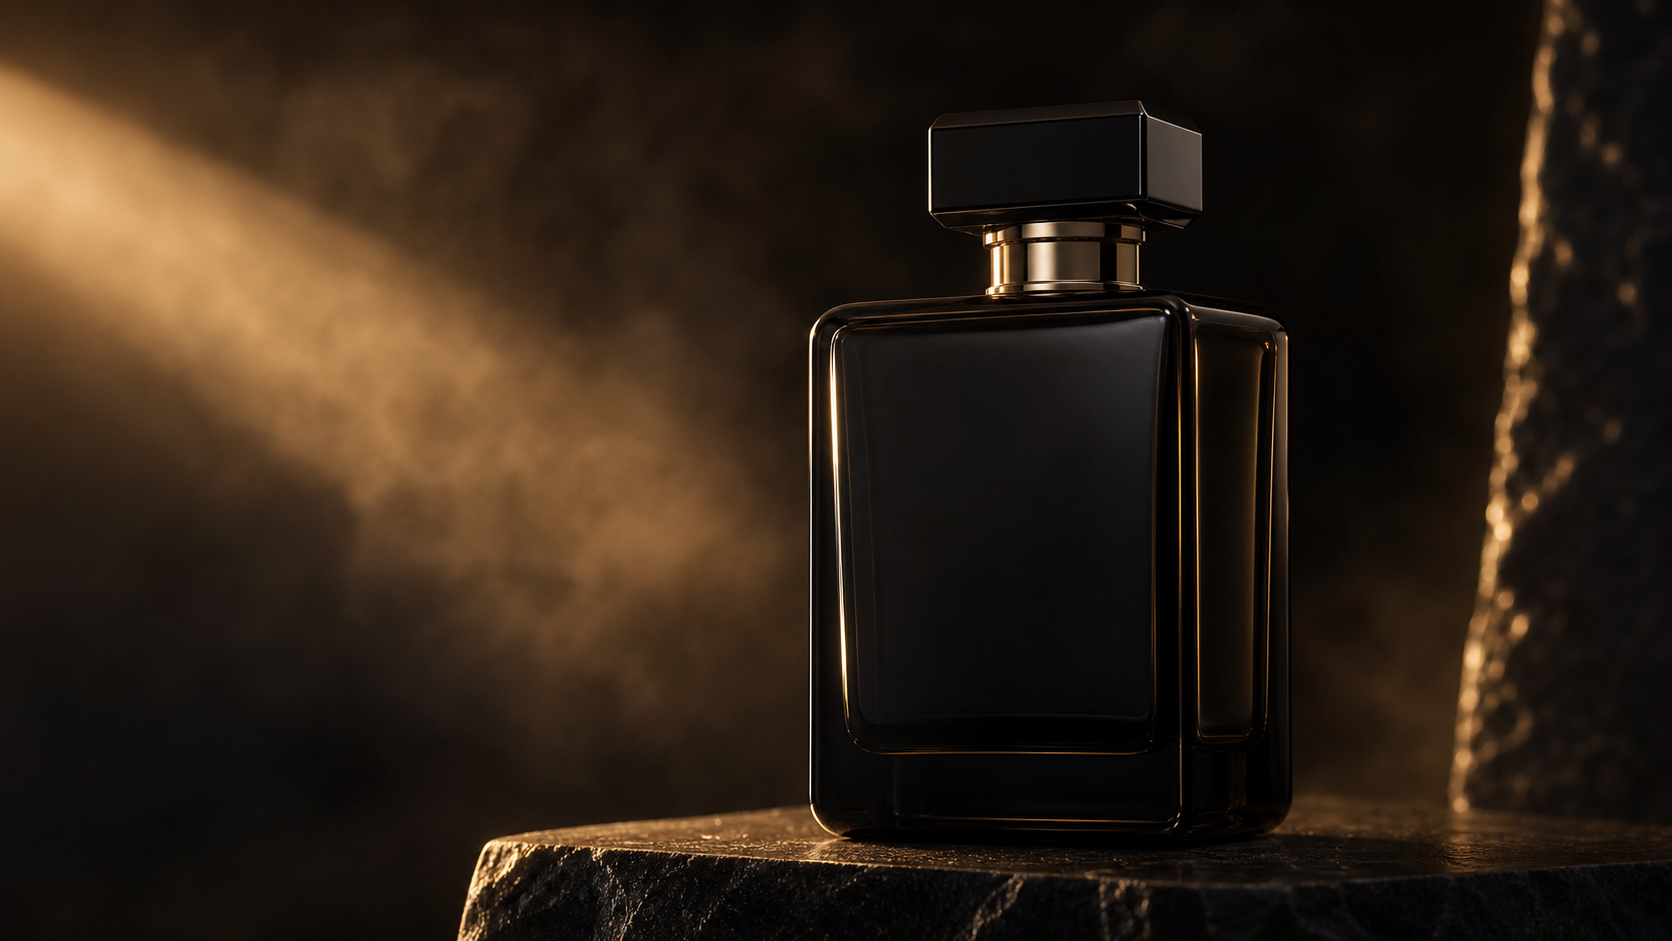
Figure 1. An unbranded fragrance bottle staged with low-key lighting for a cinematic AI product film.
Case 2: An AI Software Concept Trailer
A technology company wants to introduce a new AI product without making the entire film a screen recording. The production combines cinematic concept shots with accurate interface footage captured from the real software.
The generated sequence includes a creator in a layered digital workspace, restrained data lines connecting several displays, a camera move through abstract interface planes, and a transition into a cleaner, brighter environment. Cool blue and white light create a consistent technology palette.
The generated shots establish mood and scale. Real screen recordings then demonstrate the actual functions, while narration and captions explain the value. This separation keeps the video visually engaging without inventing interface details or making unsupported product claims.
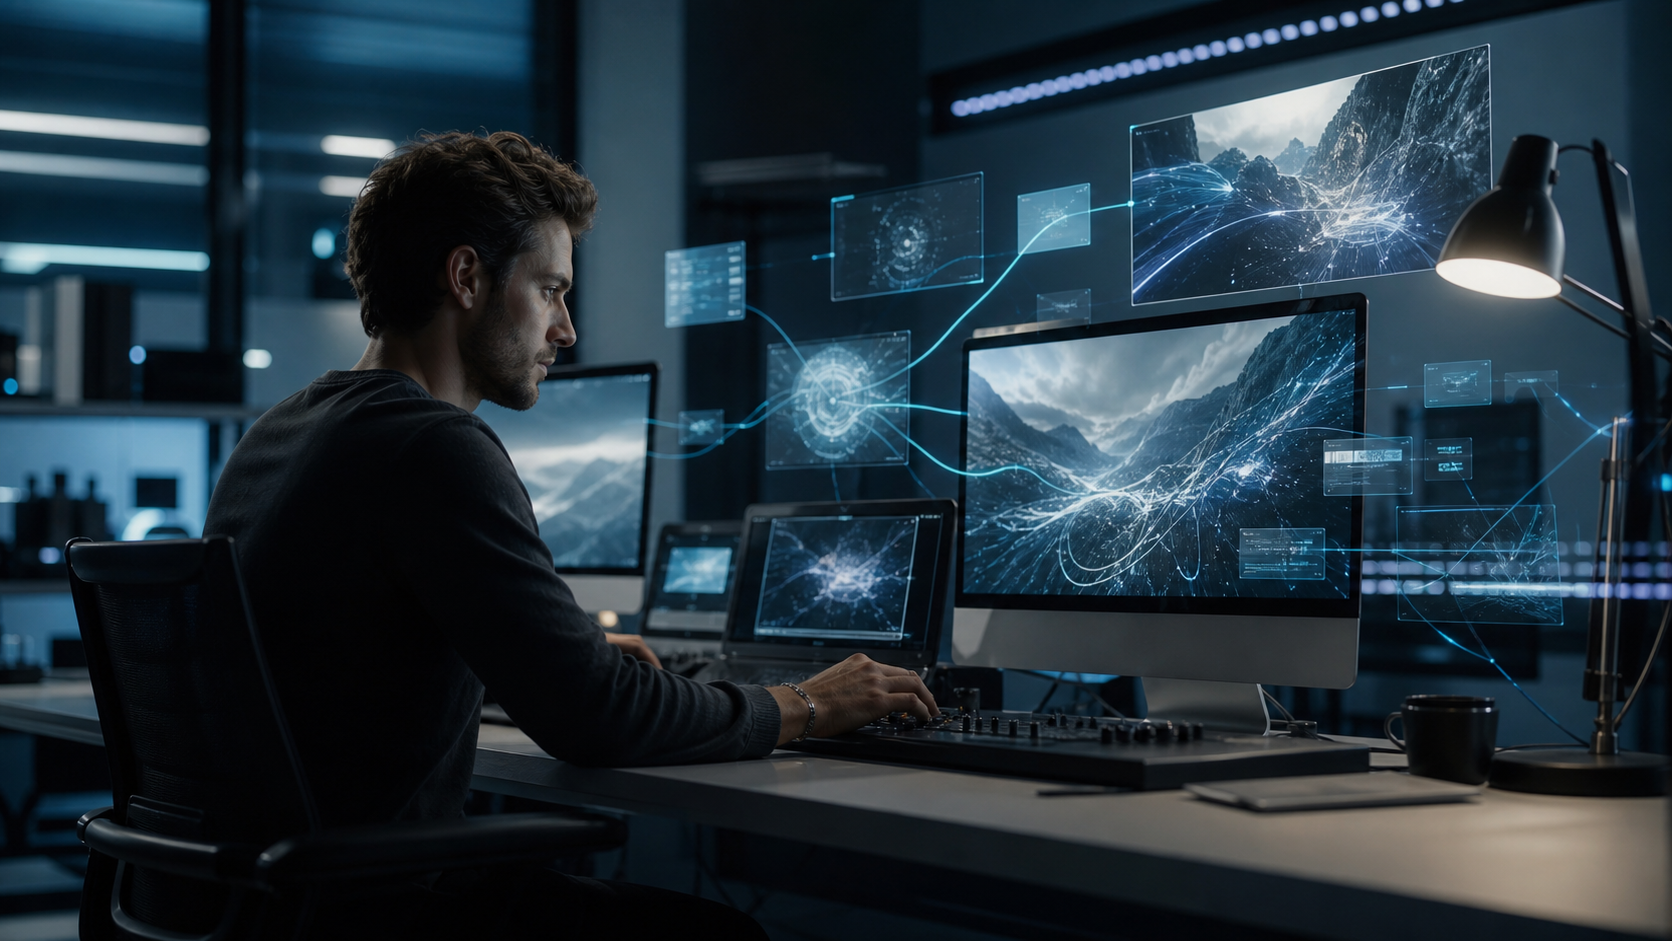
Figure 2. A creator develops an AI software concept trailer in a cinematic digital studio.
Case 3: A Short Science-Fiction Story
A creator is producing a 20-second microfilm about a traveler who discovers a luminous doorway in an abandoned future city. Instead of requesting the entire story in one generation, the creator plans six individual shots: a wide city view, a tracking shot behind the traveler, a reaction close-up, a low-angle reveal of the doorway, a hand moving toward the light, and a final frame overwhelmed by brightness.
Each shot contains one primary action. Wind, dust, distant practical lights, and the traveler’s clothing provide restrained environmental motion. Cool dusk colors contrast with the warm light of the doorway, giving the sequence a clear visual destination.
Sound design adds wind, footsteps, a low ambient tone, and a mechanical sound as the doorway activates. These elements help the generated locations feel connected as one believable world.
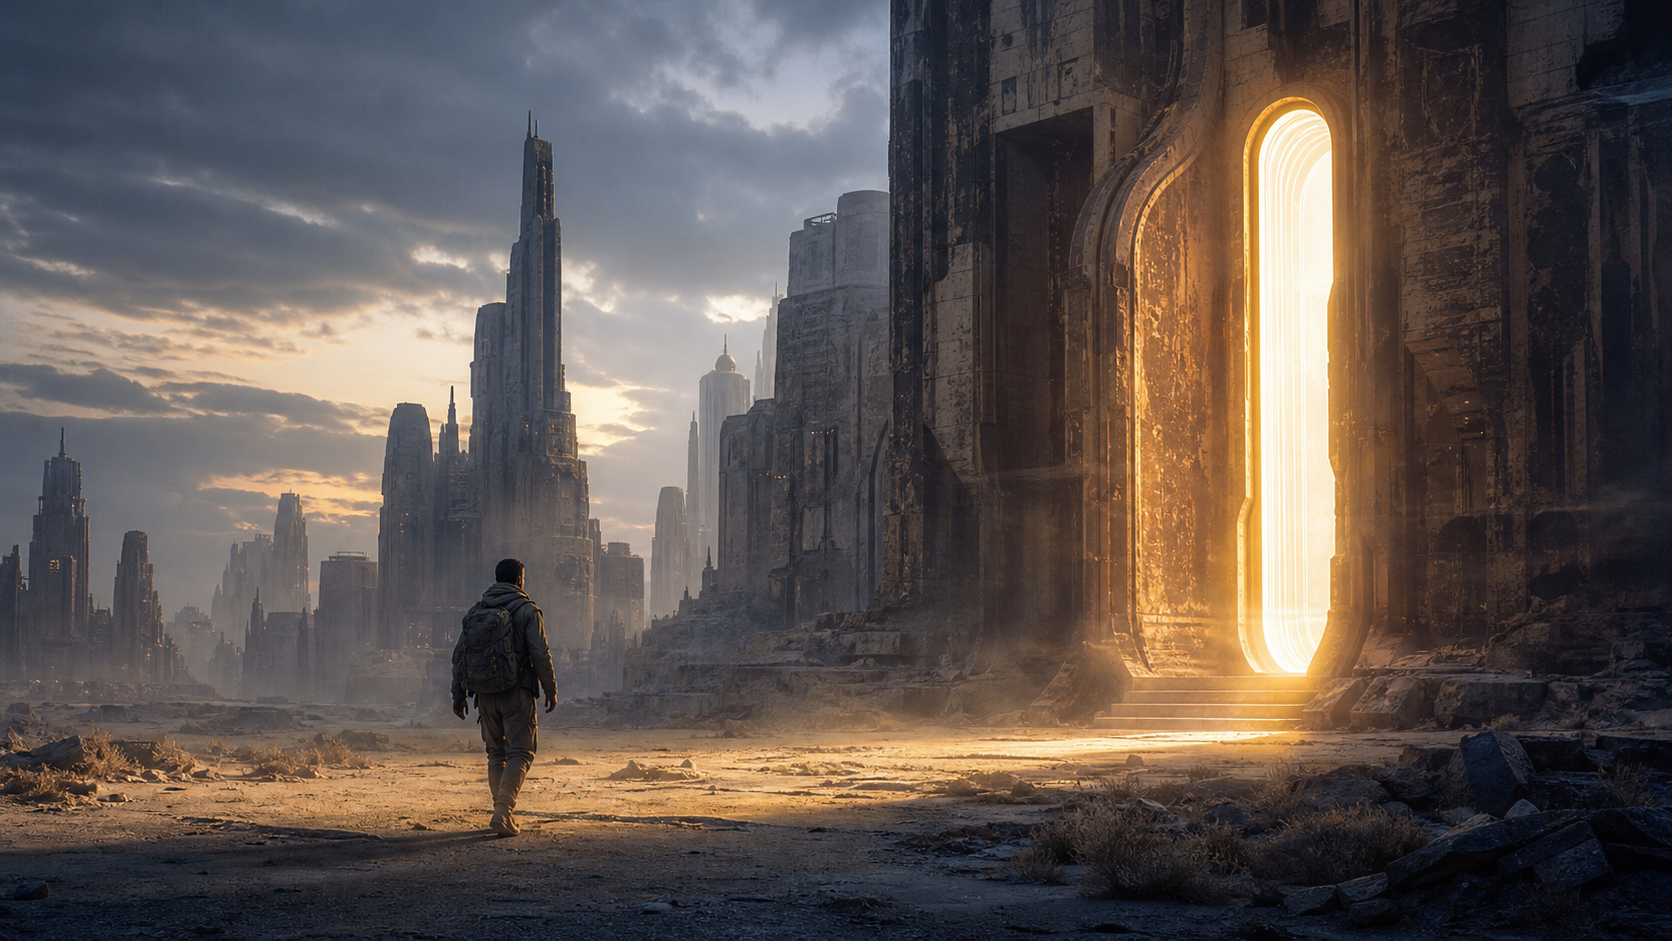
Figure 3. A lone traveler approaches a luminous doorway in an abandoned futuristic city.
Finish the Film in the Edit
Generated clips are source material, not necessarily the finished deliverable. Editing establishes the final rhythm and removes unstable moments. Select the most natural actions, shorten shots that lose focus, match contrast and color, add environmental sound and music, and place titles at moments when the composition can support them.
Accurate logos, prices, dates, captions, interface recordings, and calls to action should normally be added during post-production. This protects brand information and avoids asking a generation model to preserve small text across motion.
Sound is particularly important. Footsteps, fabric movement, wind, room tone, water, mechanical detail, and carefully chosen music can make a visual sequence feel grounded. A visually impressive movement with no corresponding sound may still feel empty.
Pre-Publishing Checklist
- Does every shot have one clear purpose?
- Does the composition direct attention toward the subject?
- Are camera movements controlled and understandable?
- Do the person, product, costume, and key objects remain recognizable?
- Is the primary light direction consistent between connected shots?
- Does the scene have useful foreground, midground, and background depth?
- Do transitions support the story rather than distract from it?
- Are the colors appropriate for the intended mood or brand?
- Are the logo, captions, dates, and prices accurate?
- Do the team have permission to use the source images, fonts, music, and other assets?
- Have flicker, distorted anatomy, unstable products, and disappearing objects been removed?
Conclusion
Creating cinematic AI videos is less about adding more adjectives and more about making clearer visual decisions. A focused concept, planned shot structure, specific camera direction, purposeful lighting, layered composition, and restrained motion give generated clips a stronger foundation.
AI lowers the barrier to producing dynamic imagery, but cinematic quality still comes from how a creator organizes information and controls attention. Design each shot as a purposeful piece of the story, then use editing and sound to connect those pieces into a coherent film. That process is more reliable than expecting one prompt to make every creative decision at once.