
No matter how good your camera is, you can only take great photos once you learn how to operate it properly. Follow these four tips for choosing the right settings for your camera. Even a little information can go a long way toward making your photos clearer and more attractive.
Explore Your Camera’s Settings
Contents
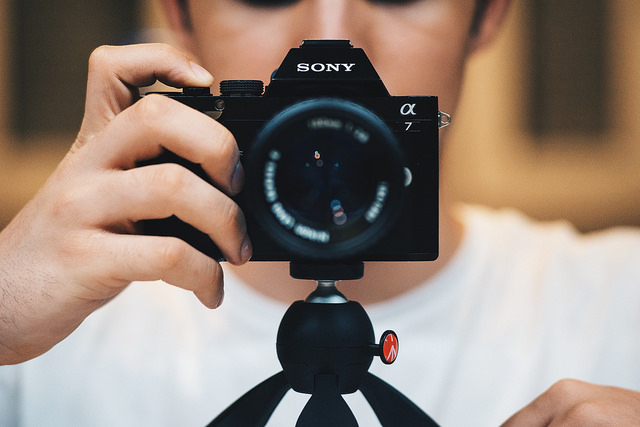
Image via Flickr by Paul Rysz
Most digital cameras come with settings that you can use to get better images in certain environments. Popular settings are designed for taking pictures of:
- Landscapes
- High-action moments like sports
- Portraits
- Objects which are extremely close
Other options can vary significantly from camera to camera, so it’s wise to read about them before making a purchase. Once you have the camera, you should also spend some time experimenting with the settings. Doing so will help you understand how they work and teach you how to switch between them quickly so you never miss the perfect shot.
Understand Shutter Speed
Shutter speed controls the amount of time that your camera’s shutter remains open so light can pass through the lens to the sensors. This is an especially important feature to learn about if you ever take pictures of sporting events. Since there is a lot of action, you want the shutter to open and close quickly. If you’ve ever seen a blurry picture of someone running or a car driving, the distortion was probably caused by a shutter speed that was too low.
Since shutter speeds are usually under a second, you’ll see most measurements expressed as fractions of a second. The smaller the fraction, the less time the shutter is open. For instance, a 1/250 shutter speed is much faster than 1/4.
It is possible to use shutter speeds that last longer than a second. In fact, some Sony digital cameras can be set to keep their shutters open for 30 seconds. This is helpful when taking pictures in low-light conditions. With some practice, you can also pair a long shutter speed and flash to capture high-resolution action shots.
One of the most well-known basic rules in photography is known as the Rule of the Thirds. This simple rule allows us to improve the composition of our photos. The idea is to imaginatively divide the image into three equal parts, both vertically and horizontally. In other words, our image will be divided into nine exactly equal parts, imagining two vertical parallel lines and two parallel horizontal lines. Using it along with the shutter speed can greatly enhance your photo.
Learn About Aperture Settings
To put it simply, aperture measures the opening of your camera’s lens. This is important because larger holes let more light pass through the lens. This not only helps prevent over-saturation, but also gives you greater control over the depth of field.
If you want to photograph a landscape, but you want every object to look in focus regardless of how far away it is, then you will use a small aperture to control the depth of field. If, however, you want to make an up-close item in focus while blurring the background, you would choose a large aperture.
This sounds simple enough, but a lot of beginners get confused by how aperture is measured. Aperture measurement is called an “f-stop.” What confuses people is that higher numbers refer to smaller holes. In the example above, you might use f/16 (smaller aperture) for the landscape, and f/1.8 (larger aperture) for the close-up. It takes a little while for this to make sense, but it gets easier with practice.
Experiment with ISO Settings
ISO was originally used to describe the speed of camera film. Even though most of today’s cameras are digital, they still have ISO settings.
In digital cameras, ISO essentially describes the camera’s sensitivity to light. While there are several ways that you can use ISO, beginners should focus on learning how to adjust the setting depending on how much light is available.
If you’re outside in full sunlight, then you will use a low ISO between 50 and 100. If it’s overcast, then you should move the ISO up to about 200. At twilight, just before it gets dark, you will probably want to use a setting between ISO 400 and 800. If you’re in the dark, then ISO 1600 or above is appropriate.
Once you get the hang of the basics, feel free to experiment. Changing the ISO can make the same subject look radically different by bringing out different elements of light. Shutter speed and aperture also control the amount of light, but in different ways and with different effects. The combination of the three variables is what gives photography its infinite variety.
Learning how to use a camera takes a little time, so give yourself a chance to play with the settings. Eventually, you won’t even have to think about what settings to use. It will just come naturally.