


You drop both AirPods into the case, close the lid, and come back later to find one at 100% and the other stuck at 11%, or not charging at all. It’s a strangely specific problem, and it feels worse than it usually is. In most cases, one AirPod not charging points to a dirty contact, a case that isn’t delivering power evenly, or a software quirk — not a bud that has suddenly died.
This walkthrough covers the checks that separate a five-minute fix from a genuine hardware fault, and the small habits that keep both sides charging.
Why Is One AirPod Not Charging While the Other Works?
AirPods charge through tiny metal contacts on the stem and matching pins in each well of the case. Those two wells work independently. If lint, earwax, or pocket dust sits on one pin, that side can stop taking a charge while the other looks perfect.
The case can be the weak point too. A low or aging case battery sometimes feeds one well better than the other, and a pad that isn’t centered or a tired cable can produce the same uneven result. A worn earbud battery is possible after years of use, but it shouldn’t be your first assumption.
How Do You Tell If the Problem Is the Earbud or the Case?
Before you clean anything, get a clear reading. Open the case next to your iPhone and wait for the battery card, or go to Settings > Bluetooth and tap the “i” next to your AirPods.
Read the three battery numbers
Look at the left bud, the right bud, and the case.
- If one bud is low and the case is near empty, charge the case first and test again.
- If the case is full but one bud never climbs, the contact or that well is the likely culprit.
- If a bud charges only when you wiggle it, the seating in the well may be off.
Test one bud at a time
Leave the weak AirPod in the case alone, lid closed, for 15 to 20 minutes. If the percentage starts climbing, the case may be struggling to power both sides at once.
Apple’s official page on If your AirPods won’t charge is useful for LED behavior and cable types, especially if you keep mixed Lightning and USB-C cases in the house.
Clean the Charging Contacts Before You Replace Anything
The contacts sit right where earwax and pocket lint like to collect, and cleaning them works more often than people expect.
Wipe the metal band at the bottom of each AirPod with a dry, lint-free cloth. For the wells, a soft, dry brush is usually enough. If lint is packed on a pin, ease it out with a wooden or plastic toothpick. Don’t use a metal pin or put liquid into the case.
Seat both AirPods fully, close the lid, and wait. A deeply drained bud can take 20 or 30 minutes before the percentage moves, so don’t pull it out after two minutes and assume the worst.
Firmware Glitches, Optimized Charging, and Odd Battery Readings
Not every charging complaint is physical. AirPods update firmware in the background when the case is open, near your iPhone, and on power. A stalled update can leave one side showing a stale battery reading.
Optimized Battery Charging can also pause around 80% based on your usage pattern. That can look like a fault if you always check the battery at the same time of day. You can switch it off in the AirPods settings if you want them to reach 100%.
If the percentage looks frozen or one bud won’t connect, try this sequence:
- Put both AirPods in the case, close the lid, and wait 15 seconds.
- On your iPhone, go to Settings > Bluetooth, tap the “i” next to the AirPods, and choose Forget This Device.
- Open the case beside your iPhone and pair them again.
- Keep the case on power for at least 30 minutes so any pending firmware can finish.
AirPods will also pause charging if the case has been sitting on a hot car dashboard or in a very cold bag. Bring them back to room temperature and try again.
When a Thick Case, Cable, or Wireless Pad Is the Real Culprit
Accessories can also stop a charge from starting. A bulky silicone sleeve can lift a MagSafe or Qi-compatible case just far enough off the pad that the coil never locks on, and the LED may flicker then go dark. Lint in the Lightning or USB-C port, or a worn cable that only works at a certain angle, can do the same.
What to look for in a protective case
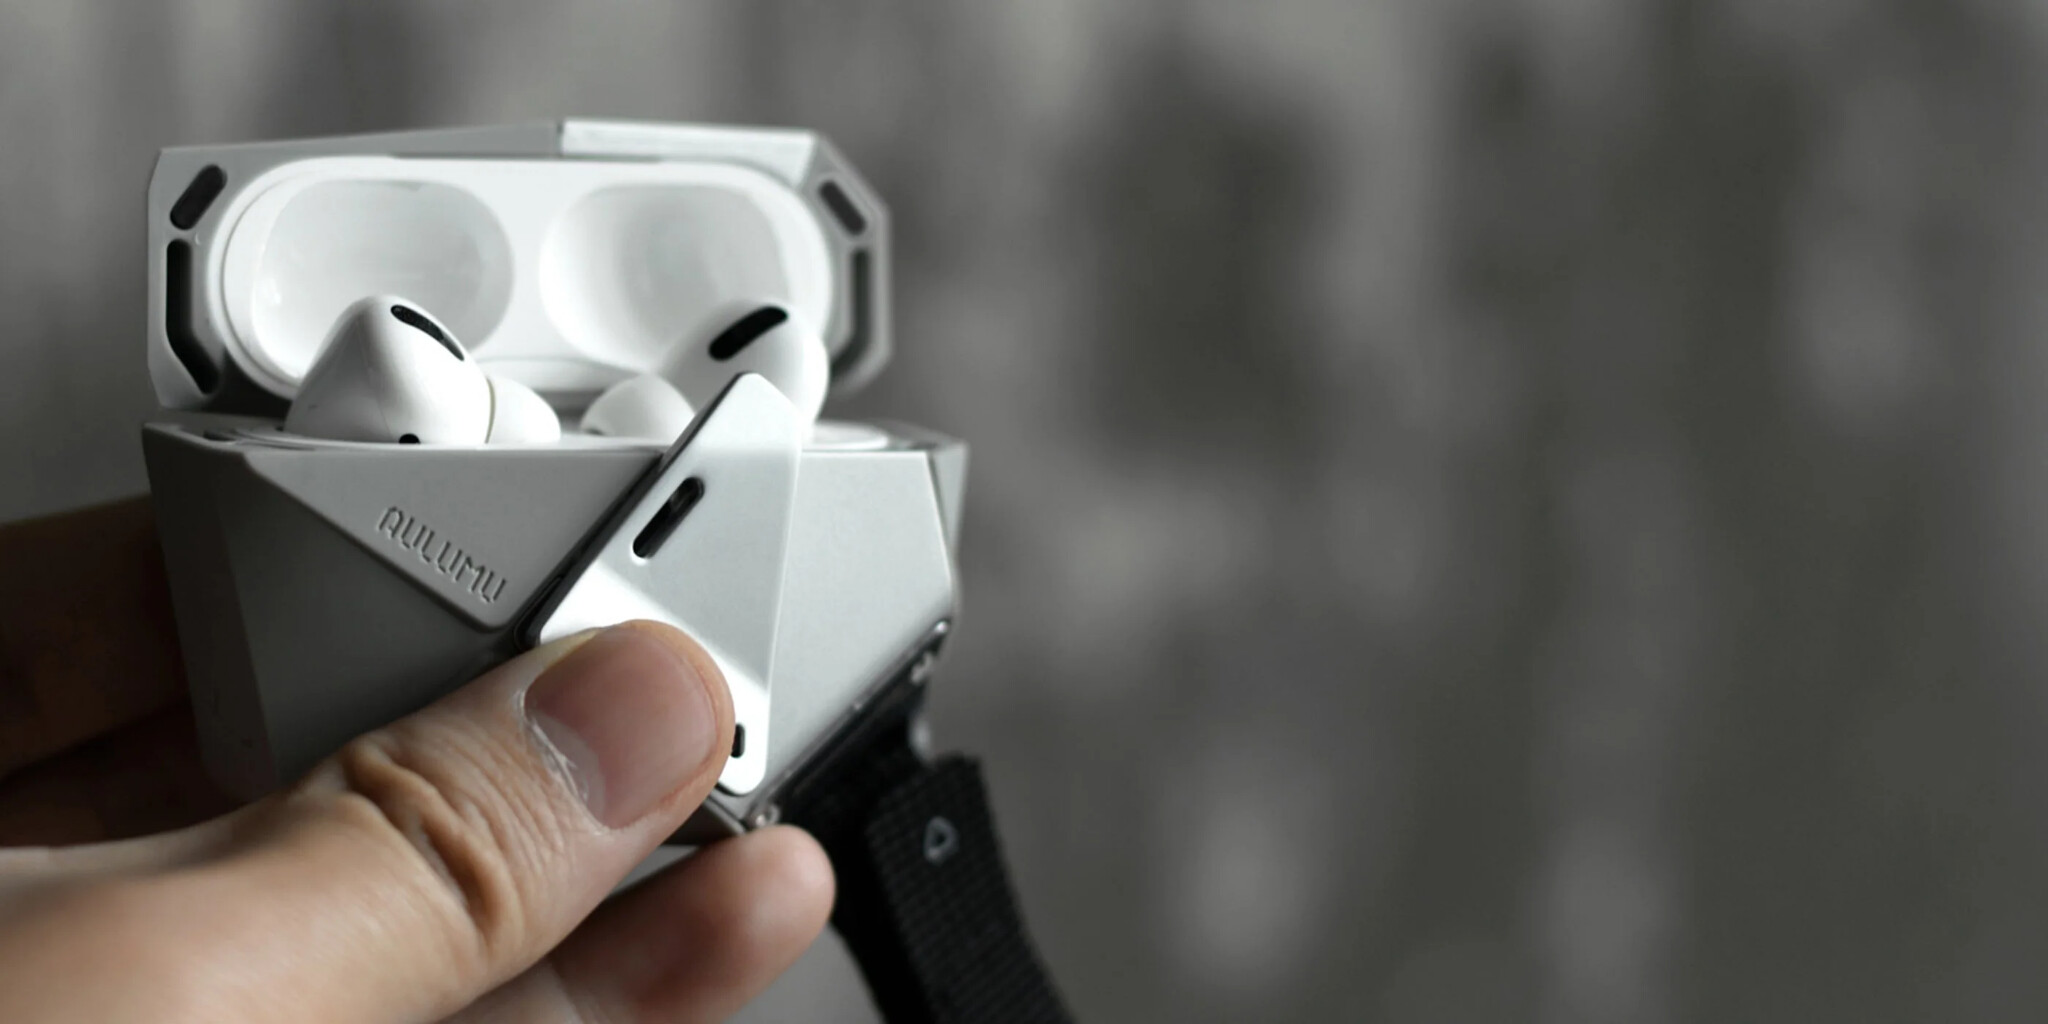
If you use a cover, pick one that leaves the charging port clear, keeps the front LED visible, and is thin enough for wireless charging to work with the cover still on. The aulumu AirPods case line, including the A09 for AirPods Pro, follows that approach: a geometric shell with a zinc alloy lock and lanyard, a precise port cutout, and wireless charging that works without peeling the cover off.
The aulumu A09 case leaves the charging wells and port accessible with the cover still on.
People often describe the same underlying fault in two ways: the case won’t take a charge, or they have one airpod not charging even though the other side is fine. The case is frequently the common factor, and this walkthrough of AirPods case charging problems is worth reading before you assume a bud has failed.
A few quick checks help isolate the accessory:
- Try a different certified cable and a known-good adapter.
- If you charge wirelessly, center the case on the pad and take the cover off for a test.
- Switch between wired and wireless once. If one method works and the other doesn’t, you’ve found the weak link.
Everyday Habits That Keep Both AirPods Charging Reliably
Most repeat problems come from the same handful of habits.
- Once a week, wipe the stems and brush out the wells. It takes less than a minute.
- Don’t leave the case in a hot car or on a sunny windowsill. Heat is hard on small batteries.
- If you clip a case to a bag, a lock helps keep it from popping open and dumping a bud into a linty pocket.
- After several years of daily use, an aging case battery is a fair reason to replace the case.
Conclusion
One AirPod not charging is usually a contact, case, or software issue, not a mysterious hardware death. Clean the pins, confirm the case itself has charge, give a drained bud a full 20 minutes behind a closed lid, and rule out a thick cover or a flaky cable before you spend money. If the numbers still refuse to move after a reset and a firmware update, then it’s time to talk to Apple about the bud or the case. Until then, the boring checks are the ones that get both sides back to 100%.