


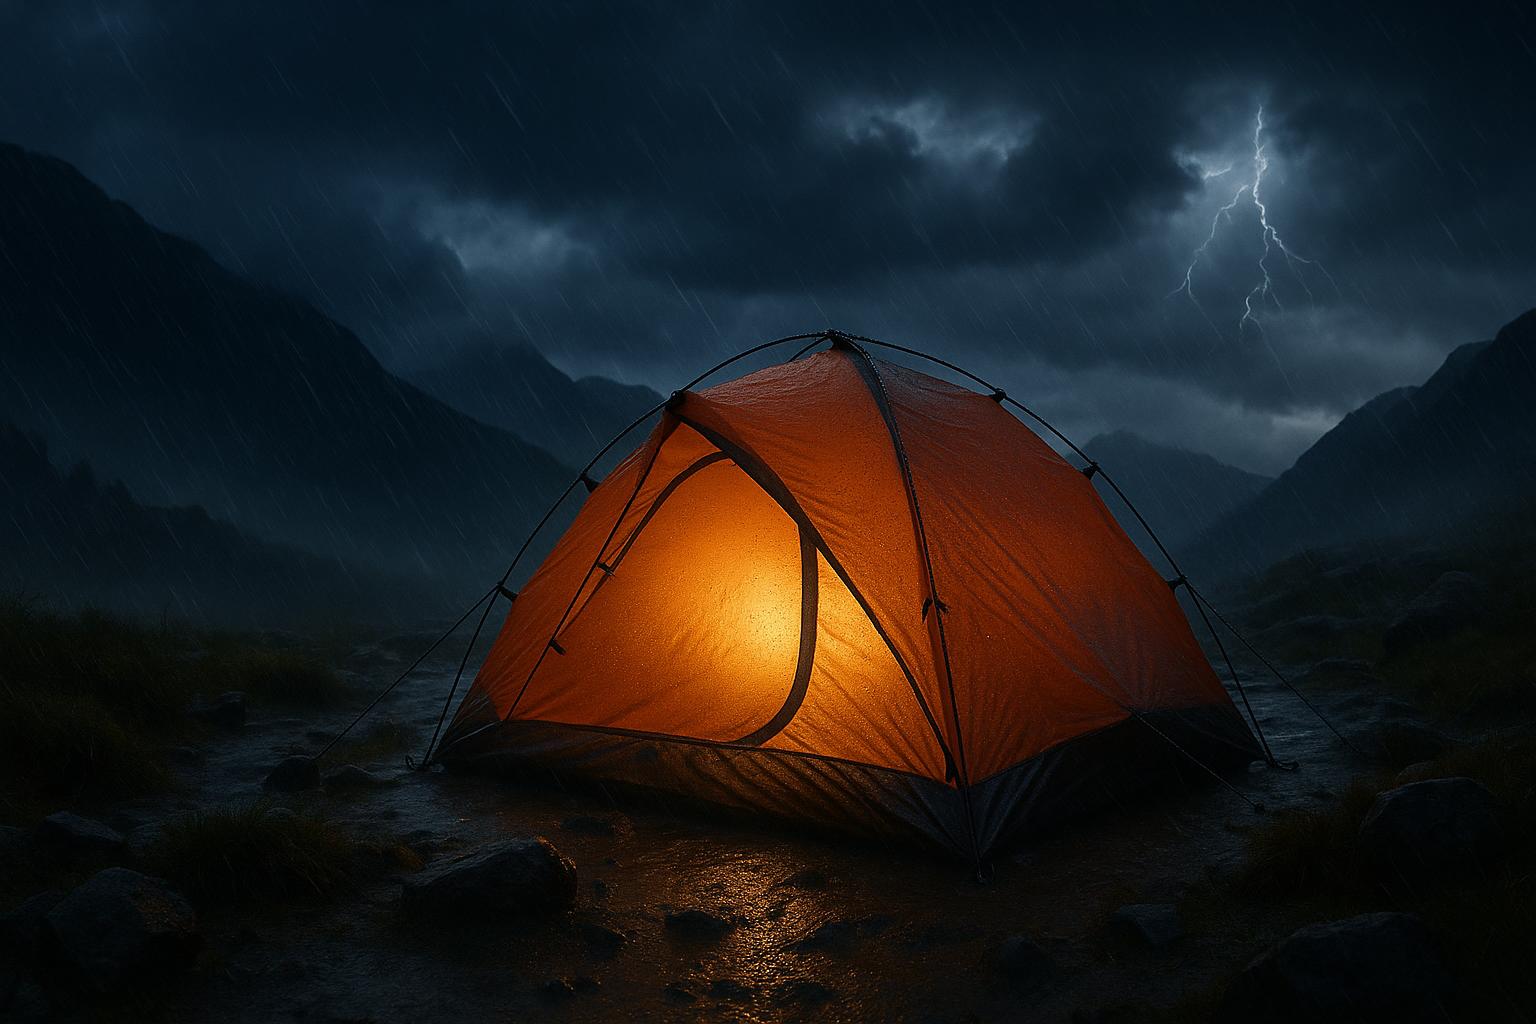
Picture two tents on the same campsite when a storm rolls in around midnight. One has a fly that stops halfway down the walls. The other’s fly almost touches the grass. By sunrise, one camper is wringing out a sleeping bag. The other slept right through.
That gap usually isn’t about price. It’s about design and setup. The rain fly and the pole frame do most of the work, and the way a tent is pitched decides whether they can do it properly. A mid priced tent with these basics right will often beat an expensive one built for sunny weekends. Buyer guides on GearVilla compare tents and other camping gear side by side, and those reviews are much easier to judge once these features make sense.
Full Coverage Rain Fly Keeps Water Out
Contents
Start with the fly. On a storm worthy tent, it hangs low on every side.
- A full coverage fly stops a few inches above the ground.
- A partial fly covers the roof but leaves the lower walls bare.
That second type is fine on a calm drizzly night. Add wind, and the rain comes in sideways under the edge.
Fabric matters too. Waterproof ratings are listed as hydrostatic head, measured in millimetres. Bigger numbers mean the fabric holds back more water. Around 1500 mm is enough for light showers. For a long wet weekend, look for 3000 mm or more.
Seams are the sneaky part. A brand new tent can leak through its own stitch holes. Factory taped seams stop that. If a tent’s seams aren’t taped, they’ll need seam sealer before the first trip, and it takes several hours to dry.
What Makes a Tent Stand Up to Wind?
Mostly the shape and the poles. When poles cross each other more often, the frame gets stiffer and holds its shape in gusts.
- Two pole dome tents handle moderate wind well enough.
- Geodesic tents cross several poles and are made for open, exposed ground.
- Tall cabin tents catch wind like a sail, so they belong in sheltered spots.
Imagine a family pitching a big cabin tent on an open hilltop because the view is great. By 2 AM the walls are bowing in and someone is holding a pole upright. The same tent behind a row of trees would’ve been fine.
Pole material plays a role as well. Aluminium bends under stress and usually springs back. Fibreglass is cheaper, but it can snap, especially when it’s cold.
Single Wall and Double Wall Designs Compared
Waking up to wet walls doesn’t always mean the tent leaked. Often it’s condensation. Warm breath hits cold fabric overnight and turns into droplets.
- A double wall tent has an inner tent and a separate fly. The air gap between them lets damp air escape.
- A single wall tent is lighter, but it tends to drip more in cold or humid weather.
Vents help either way. A couple of high vents on the fly let moist air out before it settles on the walls.
For rainy or humid areas, double wall is the safer bet. Single wall makes more sense for dry climates or for hikers trimming every gram from their pack.
Matching the Tent to the Weather
Rain and wind test different parts of a tent. Snow tests something else again. Weather focused tent roundups on GearVilla are split up the same way, with separate guides for heavy rain and high wind. The table below works as a quick check when comparing models.
| Weather Condition | Features That Matter Most | Features to Avoid |
|---|---|---|
| Light summer rain | Full rain fly and taped seams | Mesh tents with no fly |
| Heavy or long rain | Fly rated 3000 mm or higher and a bathtub floor | Partial fly and untaped seams |
| Strong wind | Low dome or geodesic shape with many guy points | Tall cabin shape and few stake points |
| Snow and cold | Four season rating and strong poles | Large mesh panels and thin poles |
| Humid or damp nights | Double wall design and roof vents | Single wall tents with no vents |
Floors and Vestibules Protect From Below
Rain doesn’t only come from above. In a heavy downpour, water runs across the ground and looks for a way in.
- A bathtub floor curves a few inches up the walls, so the seams sit above any puddle.
- A footprint under the tent protects the floor from stones and wear.
Size matters with footprints. If the footprint sticks out past the tent floor, it catches rain and channels it straight underneath. Keep it slightly smaller.
A vestibule is the covered porch outside the door. It’s where wet boots and packs should go. Bringing them inside just adds damp air to the sleeping space.
Pitch Well Before the Storm Arrives
Even a great tent fails when it’s pitched badly. Setup counts just as much as design.
- Choose ground that’s a bit higher than the area around it. Hollows fill with water.
- Point the lowest end of the tent into the wind.
- Push stakes in at roughly a 45 degree angle, leaning away from the tent.
- Tie out every guy line, even when the evening looks calm.
- Pull the fly tight so it doesn’t touch the inner tent.
- Carry a few spare stakes. They bend, and they get lost.
Guy lines are the step most people skip. It’s easy to see why. The sky is clear at 8 PM and it feels like extra work. Then the wind picks up at 3 AM and the walls start slapping against faces. Tied out lines keep the fabric tight and spread the force across the whole tent.
A practice pitch at home helps too. Learning a new tent in the dark, in the rain, isn’t fun.
Back on that stormy campsite, the dry camper didn’t get lucky. The fly reached the ground. The guy lines were tied out before dark. Small choices like those cost almost nothing, and they decide how the next morning goes.